|
- Start Apple Mail. This is located in your Applications folder. It
also may be located in the dock at the bottom of your screen.
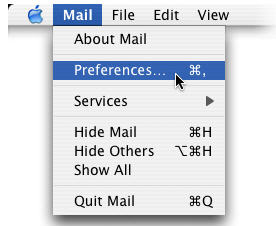
- Click on the Mail menu, located at the top of your screen. Then
select "Preferences".
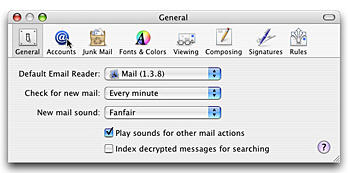
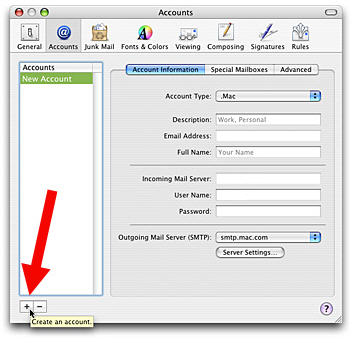
- The Preferences window will appear, as seen below. If it is not
already in the 'Accounts' section, click on 'Accounts' in the toolbar.
This is where you set up new email accounts, and modify existing ones.
- Click the '+' button at the bottom of the left-hand pane to create a
new account. This new account is now listed in the left-hand pane called
'New Account'.
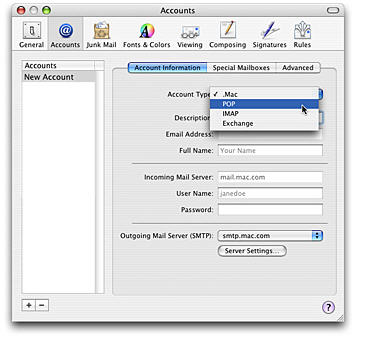
- Click on the "Account Type" popup menu from the right-hand pane, and
select the POP option.
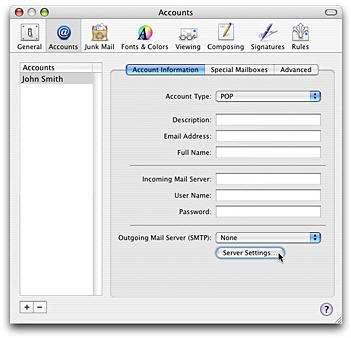
- In the example below, we have used the fictitious user "John Smith".
Fill out the following boxes with this information:
- Description - You can put a description of the account here, like
"Business" or "TCSN E-mail", or your name if you prefer.
- E-mail Address - Enter your e-mail address here.
- Full Name - Enter your name or business name to your preference.
This is the name that will appear to everyone in your e-mails in the
"From" field.
- Incoming Mail Server - inmail.tcsn.net
- Username - Enter your full e-mail address as your username.
- Password - Put the password for this mail account in this box.
- Once you've entered all this information, click "Server Settings"
under the Outgoing Mail Server (SMTP) header, and continue to the next
step.
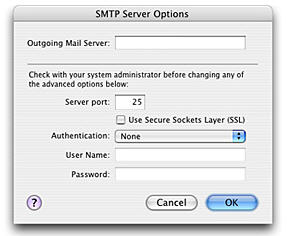
- In the following window that appears after clicking "Server
Settings" under Outgoing Mail Server (SMTP), you will need to fill in
the server your mail will be sending to. Use outmail.tcsn.net for this server name.
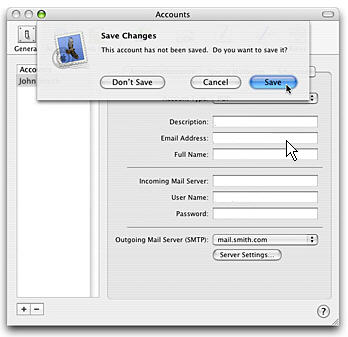
- Click the Close widget to close your accounts window.

- When you do this, you will be prompted to save your settings. Click
"Save" to save them.
Back to Top
|
|
|
|
|